
New Wells · Installing Your First Well
Choosing Where to Put a New Water Well: siting it with fewer regrets
The practical factors that shape a new well's location, including setbacks, septic placement, drainage, contamination sources, rig access, distance to the house, and future plans, with a step-by-step siting process.
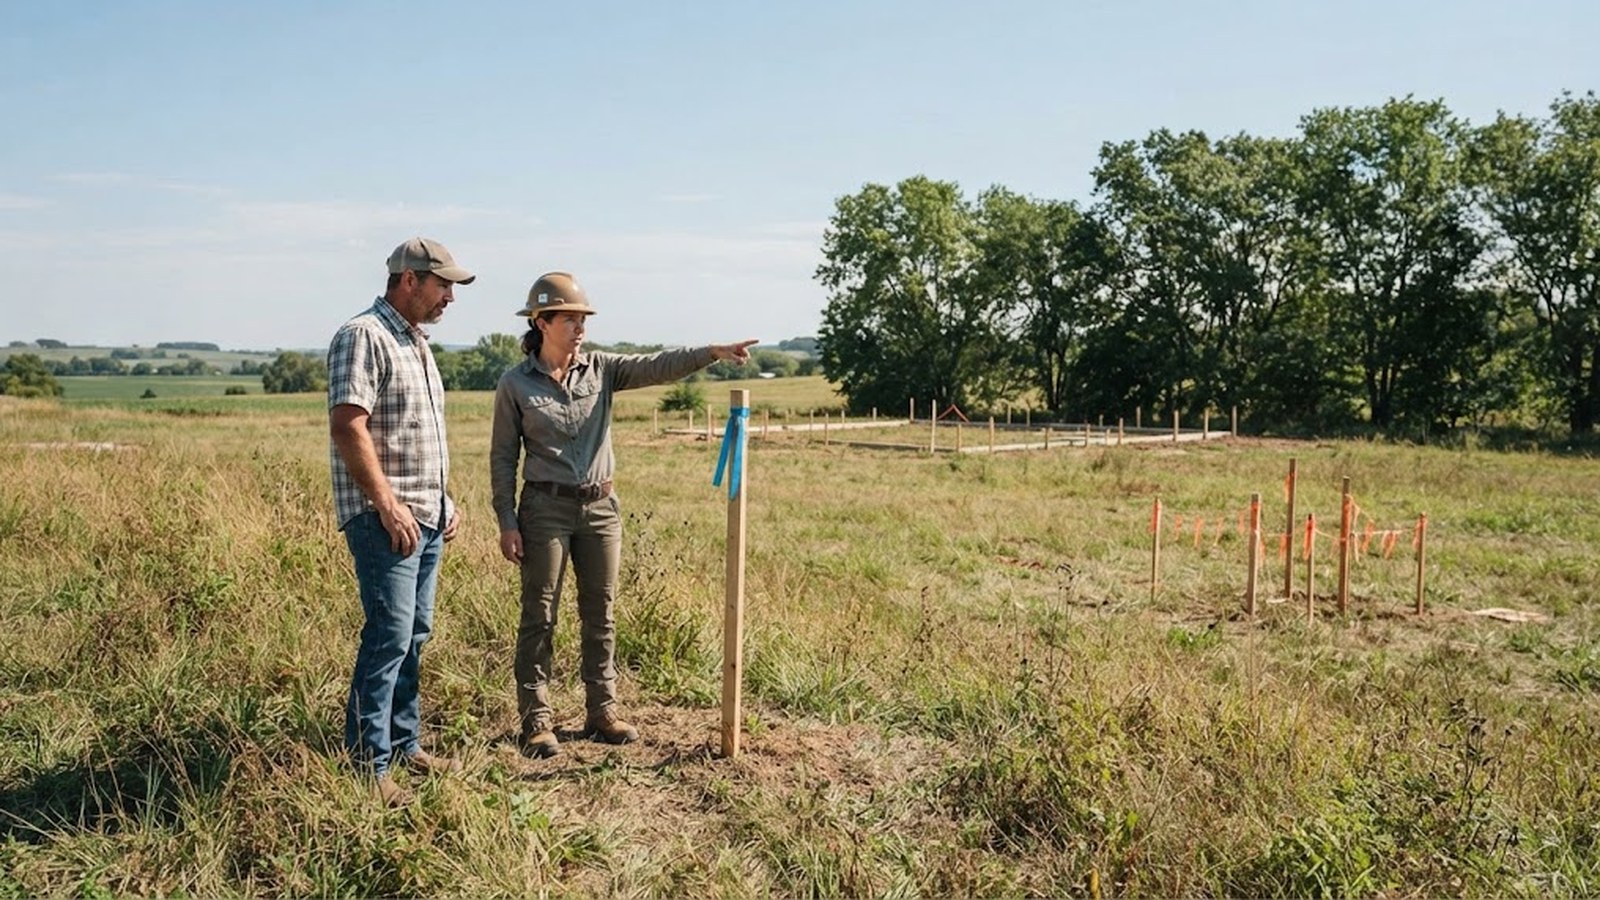
When people imagine building a home in the country, they usually picture the house first: where it will sit, which way it will face, what the view will be. The well tends to be an afterthought, something to be tucked in wherever it fits once the big decisions are made. That is understandable, but it is backward. Where you put the well affects water quality protection, cost, convenience, and future flexibility for as long as you own the property. And once it is drilled, it is not easy to move.
This article explains the factors that go into choosing a location for a new well and walks through a practical process for siting it. It is written for homeowners working with a licensed well contractor, a septic designer, and the local health department. Those professionals and local rules will determine what is allowed. Your job is to understand the tradeoffs well enough to make good decisions with them.
Find your local setback rules first so your plan holds up
Almost everywhere, local or state rules set minimum distances between a well and certain features. These are usually called setbacks or separation distances, and they exist to keep a well from sitting too close to things that can pollute it. They commonly cover distances from the septic tank and drainfield, other parts of wastewater systems like sewer lines and pump chambers, property lines, buildings and foundations, and roads and driveways. They may also cover livestock areas and manure storage, fuel storage tanks, other wells (including unused wells), surface water like streams, ponds, and ditches, and certain other potential contamination sources.
The distances vary by location and sometimes by well type, soil conditions, or the size of a system. Some areas have larger setbacks for certain features or in certain zones. Your local or county health department or state well program can provide the requirements for your property. Get them early, because they shape everything else.
Rules are minimums, not targets. Where your lot allows it, more distance from potential contamination sources is generally better.
Plan the well and septic system together to avoid costly conflicts
On most rural lots, the well and the septic system are the two biggest constraints. Each needs a suitable location, and they must be separated from each other by the required distance. On a small lot, a lot with poor soils, or a lot with steep slopes, fitting both can be a puzzle.
The septic drainfield usually needs specific soil conditions, which are determined by a soil evaluation or percolation test. That means the drainfield location may be fixed by the soils, and the well must then be placed at the required distance from it. In other cases, the well location may be more constrained, and the septic system must work around it.
Either way, plan them together, ideally with input from both your septic designer and your well contractor, and with the health department's rules in hand. Placing one without thinking about the other is one of the most common and costly siting mistakes. Our article on living with a well and septic system explains why their relationship matters.
Pick higher, well-drained ground to keep runoff away from your well
Surface water should flow away from the well, not toward it. A well on a slight rise, or on a slope that drains away, is generally better than one in a low spot. Avoid low areas that collect water after rain or snowmelt, and avoid areas that flood, such as floodplains or places near streams that overflow. Watch where runoff goes from roofs, driveways, and slopes, because the well should not sit in the path of concentrated runoff.
Also think about the septic system's elevation. Many guidelines favor placing a well upslope of septic systems and other potential contamination sources where possible, since surface water and shallow groundwater often move downhill. Local groundwater flow can be more complex than surface slope suggests, but upslope is a common rule of thumb.
After the well is drilled, the ground around it should be graded so water drains away. Our Well Care page explains why this matters.
Keep your well away from everyday contamination sources
Beyond the formal setback rules, think about what will be on your property and nearby. Driveways and parking areas are places where vehicles can leak fluids. Garages and workshops are where chemicals and fuel are often stored, and fuel tanks may hold heating oil, propane, or equipment fuel. Gardens and lawns are where fertilizers and chemicals may be used. Livestock areas, barns, and manure storage matter too, as do dog runs and pet areas and burn barrels or fire pits. Finally, look at your neighbors' septic systems, wells, and land uses near your property line.
Place the well away from these where you can. Our article on everyday habits that protect your well explains how these activities can affect water quality.
Make sure rigs can reach the well now and for future service
Drilling rigs are big, heavy trucks. To drill your well, the rig needs to reach the site. And years from now, when the pump needs service or replacement, a service truck will need to reach the wellhead too.
The route and site should be firm enough to support heavy equipment, especially in wet seasons, and gates, driveways, and paths need to be wide enough for the rig. Steep slopes can be difficult or impossible for a rig to set up on. Rigs raise tall masts, so power lines and tree branches overhead can be serious hazards and may make a site unusable. The rig and its support vehicles also need room to work around the well site.
Then think about the years ahead: do not plan decks, patios, fences, landscaping, or buildings that would block a service truck from reaching the well later. Your well contractor can look at the site and tell you whether their equipment can get there. Ask them to walk it with you.
Balance the distance to the house against cost and setbacks
The farther the well is from the house, the longer the trench and water line, and often the higher the cost. Long distances can also mean longer electrical runs to the pump. On the other hand, placing the well too close to the house can put it near foundations, roof runoff, and construction activity, and setback rules may require a minimum distance from buildings.
The best location usually balances meeting setbacks from the house and other structures with staying reasonably close, which keeps trenching and line length down. It also avoids the areas where construction equipment will work and keeps the path of the water line clear of future structures.
Think about where the water line will enter the house and where the pressure tank will go. A straight, simple path is usually better than a complicated one.
Learn what local records say about the groundwater under your lot
What lies beneath your lot matters too, though it is harder to see. Local drillers and nearby well records can tell you about typical depths and conditions, as our article on buying land with no well explains. In some areas, particularly where water comes from fractures in rock, yield can vary from one spot to another, even on the same lot. A driller with local experience may have opinions about where water is more likely.
Some people use methods like water dowsing to choose well sites. Scientific agencies such as the U.S. Geological Survey have noted that there is no scientific evidence supporting dowsing as a way to find groundwater. The more reliable information comes from geology, records, and local drilling experience.
For larger or more uncertain projects, some owners consult a hydrogeologist, who can review geology and records and offer a professional opinion.
Plan for future changes so they do not crowd your well
A well can last for decades. Before you choose a site, think about how you might use the property in years to come. That could include additions to the house, garages, barns, or workshops, pools or hot tubs, and gardens or orchards. It could also include livestock, driveway changes, additional septic capacity if the house might grow, or subdividing the land someday.
Each of these may have setback requirements or may be activities you would prefer to keep away from the well. Placing the well in a spot that preserves flexibility can save you headaches later.
Check for old wells that could change your plans
If the property had a previous home or farm, there may be old wells, cisterns, or pits. These can affect your plans. Some rules require setbacks from unsealed wells, and an old well may need to be properly closed before or during construction. Our article on old or unused wells explains how to identify and deal with them.
Locate buried utilities and lines before any digging
Before any digging or drilling, locate buried utilities. Call your local utility locate service, often reached by dialing 811 in the United States, well before work begins. Also consider private buried lines that the utility locate service may not mark, such as existing water lines, electrical lines to outbuildings, septic lines, irrigation lines, and old fuel lines.
Mark them so the rig, trenching equipment, and other contractors can avoid them.
Make the well look tidy without hiding it
Wells are not usually beautiful, and many owners want them out of sight. It is reasonable to consider appearance, but do not let aesthetics override protection and access. A well that is hidden behind shrubs, under a deck, or in the middle of a flower bed can be harder to protect and service.
A better approach is to choose a sound location and then make it look tidy, with a simple gravel ring, a clear marker, and nearby plantings that do not crowd the wellhead. Decorative well covers are sold for aesthetic purposes; if you use one, make sure it does not interfere with the well cap, its vent, access, or drainage.
See what to expect on small, sloped, wooded and other lots
Every property is different, but some common lot types come with predictable challenges.
Small lots: fitting a well within tight setbacks
On a small rural lot, the setbacks from the septic system, property lines, and buildings can leave very little room for a well. Sometimes only one spot works. In these cases, careful planning of the house footprint, driveway, and septic system is essential, and it may be worth involving the health department early to confirm a workable layout before finalizing house plans. Some small lots may not be able to fit both a well and a septic system at all under local rules, which is exactly why this research belongs before purchase. Our article on buying land with no well covers that.
Sloped lots: balancing drainage with a stable rig pad
On a sloping lot, drainage and elevation become especially important. A site partway up the slope, away from where runoff concentrates, may be better than the very bottom. At the same time, rigs need a reasonably level, stable place to set up. Your contractor may suggest a location that balances protection with practicality, and some site work may be needed to create a safe working pad.
Wooded lots: planning clearing for the rig and water line
Trees can limit rig access and overhead clearance, and roots can interfere with water lines. Clearing may be needed for the rig and for future service access. Plan the clearing with both drilling day and long-term service in mind, and keep the future path of the water line clear of large trees.
Former farm fields: checking the land's history first
Open fields can offer lots of room, but they may have a history of fertilizer, manure, or pesticide use, as well as old farm structures, fuel tanks, or wells. Ask about the land's history, look for old wells and foundations, and keep the well away from any areas that may have had concentrated use, like old barnyards or equipment yards. Testing after drilling is especially valuable in these settings.
Waterfront lots: avoiding low, wet ground and flood risk
Properties on lakes, rivers, or streams often have setback requirements from the water, and sometimes special shoreline rules. Low, wet ground near the water is often a poor well location. Flooding risk is an important consideration. Waterfront lots may also have limited space once shoreline setbacks, septic setbacks, and building setbacks are all applied.
Lots with shallow rock: what it means for drilling
Visible rock outcrops or shallow bedrock can affect drilling methods and costs, and can also affect septic system options. In areas where water comes from fractures in rock, a local driller's experience with nearby wells can be especially valuable.
Site a replacement well around what is already on your lot
When an existing home needs a new well, the siting puzzle is different. The house, driveway, septic system, and landscaping are already there, which limits choices. At the same time, you have more information: the old well's history, the location of existing utilities, and how water moves across the property after storms.
The new well must meet setbacks from the existing septic system, which may push it to a different part of the lot. The old well may need to be properly sealed, and some rules include setbacks from unsealed wells. A new trench will need to reach the house, possibly crossing a finished lawn, driveway, or landscaping, and the new wellhead should be positioned for good drainage and future access, not just convenience. Temporary water may also be needed during the project.
Your well contractor and local health department will guide what is possible.
Draw a site plan that shows everything your well depends on
Many permits require a site plan, and even when one is not required, drawing one is worth the effort. A useful site plan shows property lines and dimensions, the house footprint, and any other buildings, existing or planned. It also shows the driveway and parking areas, the septic tank, drainfield, and any reserve area, and the proposed well location. Add the route of the water line from the well to the house, and the setback distances between the well and key features. Include streams, ponds, ditches, wet areas, and slopes, existing or old wells, and buried utilities and overhead power lines, and finish with a north arrow and approximate scale.
Keep a copy of the final plan in your well records. It will be useful for decades.
Follow eight steps from setback rules to a staked well site
Here is a practical way to approach well siting.
Step one: Get the rules. Contact your local health department or state well program for setback requirements and permit procedures.
Step two: Map the property. Use a survey, a site plan, or even a hand sketch. Mark property lines, the house location, driveway, existing structures, trees, slopes, low spots, streams or ponds, and any known features like old wells or utilities.
Step three: Place the septic system. Work with your septic designer to identify the drainfield and tank locations based on soils and rules.
Step four: Draw the setback zones. Mark the required distances around the septic system, property lines, buildings, and other features. The remaining space is where the well can legally go.
Step five: Narrow it down. Within the allowed space, look for higher ground, good drainage, distance from contamination sources, reasonable distance to the house, and good access for the rig.
Step six: Walk it with the well contractor. Have the contractor visit the site and review your preferred location. They can tell you about equipment access and may have opinions about groundwater conditions.
Step seven: Confirm with the health department. Submit the proposed location with your permit application, and follow any required inspection or approval steps.
Step eight: Mark it. Put a stake at the chosen location so everyone involved in construction knows where it is, and protect it from equipment until drilling.
Protect your well site from damage during construction
Once a well site is chosen, and especially after the well is drilled, it needs protection while the rest of the house is built. Construction sites are busy places, with excavators, concrete trucks, lumber deliveries, and many different crews. A well casing is easy to hit, bury, or contaminate in that environment.
Surround the site or wellhead with a sturdy, highly visible barrier, and tell every contractor where the well and the planned water line are, in writing. Keep fuel, concrete washout, paint, and chemicals well away from the well, and keep fill, debris, and topsoil piles from being placed over or against it. Watch final grading closely so the ground slopes away from the wellhead, and check the wellhead after major phases of construction for damage.
If the casing is damaged during construction, have the well contractor inspect and repair it, and consider disinfection and testing afterward.
Avoid the siting mistakes that cost homeowners the most
The biggest mistakes are placing the house and driveway first and fitting the well into what is left, and forgetting the septic system. Others include choosing a low spot because it is convenient, placing the well where a rig cannot reach, and ignoring overhead power lines. Owners also place the well in the future driveway, parking area, or construction zone, or forget future additions and outbuildings. Hiding the well where it is hard to protect or service and skipping the utility locate complete the list.
Ask the health department, driller and septic designer these questions
For the health department:
- What setbacks apply to my well?
- Are there special zones or rules in this area?
- Does the proposed site need approval before drilling?
For the well contractor:
- Can your equipment reach this site?
- Do you see any concerns about this location?
- Based on your experience, is there anywhere on this lot you would prefer?
- How far from the house do you recommend, and what will the trench path look like?
For the septic designer:
- Where does the drainfield need to go based on soils?
- How does that affect where the well can go?
- Is there room for a future replacement drainfield, if required?
Quick answers about well siting
Can I put the well close to the house to save on trenching?
Only as close as local setbacks allow, and not in spots where construction, roof runoff, or future additions will crowd it. Balance savings with protection and access.
Should the well be uphill from the septic system?
Where possible, many guidelines favor placing the well upslope of the septic system and other potential contamination sources. Local rules and professionals will guide your specific site.
Does the health department have to approve my well location?
In many areas, yes, as part of the permit. Ask early so your plans can be adjusted before construction.
What if my lot has only one legal well location?
Then that location drives the rest of the plan. Place the house, driveway, and future structures around it so it stays protected and accessible.
Recap and next step: map your lot and walk it with your contractor
A new well's location affects its protection, cost, and serviceability for decades. Start with local setback rules, plan the well and septic system together, and choose higher, well-drained ground away from potential contamination sources. Make sure a drilling rig can reach the site and that a service truck will still be able to reach it years from now. Balance distance to the house against setbacks and construction activity, and think about how you might use the property in the future.
Map the property, draw the setback zones, narrow down the options, and walk the site with your well contractor before you submit a permit. A well that is well placed from the start is easier to protect, easier to service, and more likely to serve your home well for many years.