
New Wells · Installing Your First Well
Planning Your First Water Well: from permit to first glass of water
A start-to-finish overview of getting a new private well, from early research and permits to drilling, pump installation, disinfection, testing, and the paperwork to keep.
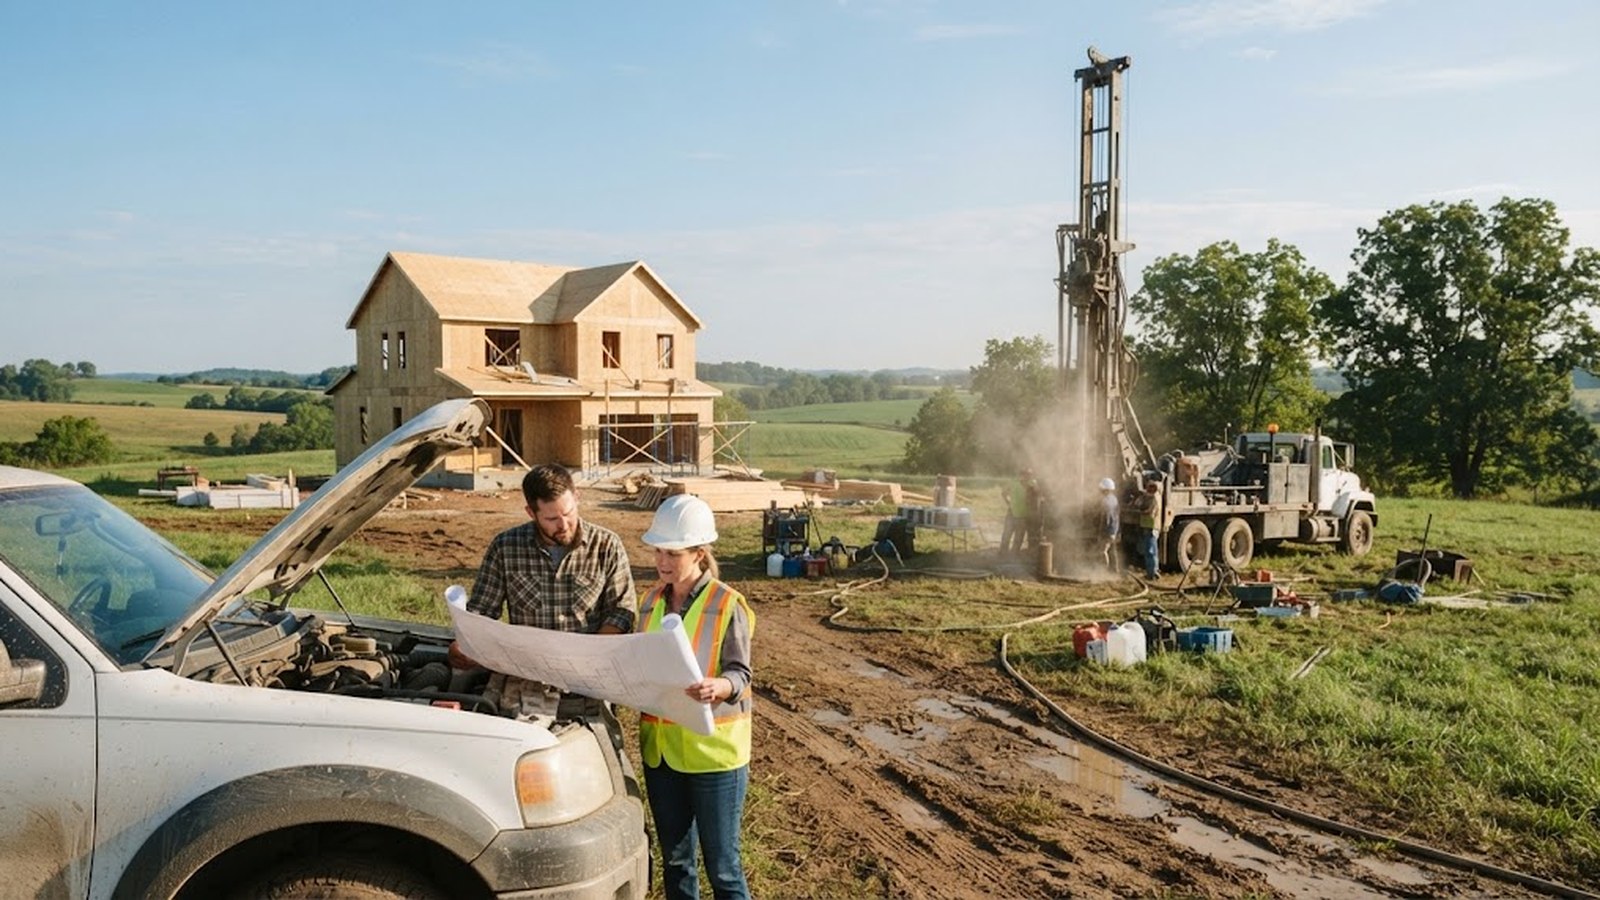
If you are building a home in the country, adding a house to family land, or replacing a failing water supply, you may be getting your first well. For many people, it is a completely new experience. There is no city utility to call, no standard hookup fee, and no obvious place to start. You may be wondering who to hire first, what permits you need, how long it takes, and what happens between the day the drill rig arrives and the day you fill your first glass of water.
This article gives you the big picture. It walks through the typical stages of getting a new private well, what happens in each, and what you should be thinking about along the way. The details vary a great deal by state, county, and local conditions, so treat this as a road map rather than a rulebook. Your local health department, state well program, and a licensed well contractor will fill in the specifics for your property.
We have written companion articles that go deeper on several stages: drilled, bored, driven, and dug wells explained; choosing where to put a new well on your lot; comparing well drilling quotes; what to expect on drilling day; and what happens after the drill rig leaves, including the pump, tank, trenching, and first test.
If you are still deciding whether to buy a piece of land, start with our article on buying land with no well, which covers how to research water before you commit.
See all 13 stages of a new well at a glance
Most new well projects move through stages like these. You research local conditions, rules, and costs. You plan the site layout, including the well, septic system, house, and access. You choose a licensed well contractor and get quotes, then permit the well with the appropriate local or state agency. Next you prepare the site for drilling, drill the well, and install the casing and seal. After that the well is developed and its yield assessed, and the pump, pressure tank, controls, and water line are installed. The system is connected to the house, and the new well and plumbing are disinfected. Then you test the water with a certified laboratory, treat it if testing shows a need, and document everything and file the records.
The order can shift a bit. For example, on some projects the pump is installed right after drilling; on others it waits until the house is closer to completion. But these are the main pieces.
Stage one: research local rules, water and costs before you call anyone
Before you call anyone, a little research helps you ask better questions.
Learn about local groundwater. Nearby well records, neighbors, and local drillers can tell you what depths and conditions are typical. Our article on buying land with no well explains how to find well records.
Learn about local rules. Contact your county or local health department or the state agency that oversees wells. Ask whether a permit is required, what setback distances apply, whether water testing is required after drilling, and whether there are any special rules in your area.
Learn about local water quality. Ask neighbors, drillers, and the health department about common water quality issues. This helps you anticipate whether treatment might be needed.
Learn about costs. Well costs vary widely with depth, geology, local rates, pump and equipment choices, distance to the house, and treatment. Local drillers are the best source of current information. Build a cushion into your budget for surprises.
Learn about timing. In some areas, drillers are booked weeks or months ahead, especially in busy construction seasons. Permits can take time too. Ask early.
Stage two: pick a well site that protects your water and fits your lot
Where you put the well is one of the most important decisions in the project, and it is much easier to get right before construction starts. The well has to fit with the house, driveway, septic system, and other features, and it has to meet local setback requirements.
Several things shape the choice. Setbacks from the septic tank and drainfield, property lines, buildings, and other features keep the well away from things that could harm it. Good drainage sends surface water away from the well, and a look at potential sources of contamination nearby serves the same purpose. Access matters because the drill rig and future service trucks both need to reach the well, and the distance to the house affects trenching and water line costs. It also pays to think about future plans, like additions, garages, pools, or outbuildings, so that you do not end up building over or beside your own water supply.
Our article on choosing where to put a new well walks through siting in detail. If you are also installing a septic system, plan them together. A septic designer, the well contractor, and the health department may all have input.
Stage three: compare contractors and choose with confidence
Your well contractor is your most important partner in this project. In many states, well drillers must be licensed or registered. Check with your state agency to learn the requirements and verify a contractor's status. Our Buying or Selling page explains how to verify qualifications yourself.
Ways to find contractors:
- Ask neighbors who drilled their wells
- Ask your builder, if you have one
- Ask the local health department whether it keeps a list of licensed drillers
- Check your state's licensing database
Talk with more than one contractor if you can. Ask about their experience in your area, what they expect for your site, and how they handle the parts of the project beyond drilling. Our article on comparing well drilling quotes explains what to look for in an estimate and how to compare bids that are structured differently.
Stage four: find out who files the permit and what it requires
Many jurisdictions require a permit before a well can be drilled. In some places, the well contractor handles the permit application; in others, the property owner does. Ask your contractor and your local health department how it works where you are building.
A permit application may require:
- A site plan showing the proposed well location and nearby features
- Information about the property and the owner
- Information about the contractor
- Fees
Some areas require an inspection of the proposed site before drilling, or at certain points during construction. Some require a water test before the well can be approved for use. Knowing the requirements up front helps you plan the schedule.
In some states, especially in parts of the West, water rights law may also affect new wells. Ask your state agency whether any water rights requirements apply to a domestic well on your property.
Stage five: get the site ready so drilling day goes smoothly
Drilling rigs are large, heavy vehicles, and they need space. Before drilling day, your contractor will tell you what they need. Common preparations include a clear, firm path from the road to the well site, enough space around the site for the rig and support truck, and overhead clearance from power lines and tree branches. You will also want a plan for where water, mud, and cuttings from drilling will go. Mark the locations of any buried utilities, and call your local utility locate service before any digging. Mark the septic system and any other features to avoid, so nothing is damaged by heavy equipment.
Our article on what to expect on drilling day goes into site preparation and what happens during drilling.
Stage six: understand what happens during drilling and why costs can shift
On drilling day, the contractor sets up the rig and begins drilling. Depending on the method and local geology, drilling may take a day or several days. The contractor will be watching the materials that come up, the water encountered, and the depth.
As drilling progresses, the contractor typically installs the casing, which lines the upper part of the well, and seals the space around it according to state or local rules. This seal is one of the most important protective features of the well, even though you will never see it once the job is done.
The contractor decides when to stop drilling based on the water encountered, the yield needed, and the conditions. That decision often happens on site, which is one reason costs can vary from the estimate.
Stage seven: see how the well is cleared and how much water it gives
After drilling, the well is usually developed. This is a process of removing fine particles and drilling fluids from the well and the surrounding area so water can flow freely. The contractor may pump, surge, or otherwise work the well until the water runs clearer.
The contractor will also assess the well's yield, often by pumping it and observing how it responds. Our article on well yield and flow tests explains what yield means. The yield helps determine the right pump and whether storage might be helpful.
Stage eight: know what goes in the system that delivers your water
Once the well is drilled and developed, the pump and related equipment are installed. This may be done by the same contractor or by a pump installer. Typical components include a pump, often a submersible pump inside the well, and pipe and wiring from the pump to the surface. A pitless adapter or similar connection brings water out of the casing below ground, and a well cap closes the top. The buried water line runs from the well to the house, where a pressure tank, pressure switch, and gauge control the supply. Electrical connections power it all.
Our article on how your well system works explains each of these parts. Our article on after the drill rig leaves covers pump installation, trenching, and connecting to the house in more detail.
Stage nine: coordinate the water line so it reaches your house
The water line runs from the well to the house, usually in a trench deep enough to protect it from freezing in cold climates. It enters the house, often through the foundation or a slab, and connects to the pressure tank and the rest of the plumbing.
Coordination matters here. Your well contractor, plumber, electrician, and builder may all have a role. Make sure everyone knows who is doing what, where the line will enter the house, where the pressure tank will go, and where the electrical supply for the pump will come from.
Stage ten: disinfect the new system before anyone drinks from it
New wells, and new plumbing, can pick up bacteria during construction. That is why it is common practice to disinfect a new well before putting it into use. Disinfection is often done by the well contractor following state or local guidance, and some areas require it.
Ask your contractor whether disinfection is included, how it will be done, and how long to wait before testing afterward.
Stage eleven: test the new water and keep the result as your baseline
A new well should be tested by a certified laboratory before you rely on it for drinking water. Some jurisdictions require a test before the well is approved or before a certificate of occupancy is issued.
Common tests for a new well include bacteria and a basic set of chemical and physical parameters. Depending on your area, the health department or lab may recommend additional tests for substances known to occur locally. Our testing page and our guide on annual well testing explain what to include, and our Contaminants page explains common results.
This first test is especially valuable. It is your baseline, the starting point for every future test. Keep it forever.
Stage twelve: buy treatment only if your test results call for it
If testing shows a need for treatment, choose treatment based on the results. Our treatment guide compares common systems. It is often wise to wait for test results before buying treatment equipment, even if a salesperson recommends something in advance. Some issues seen right after drilling, like cloudiness, may resolve as the well is used and developed.
If treatment is needed, plan space for it near the pressure tank, and think about maintenance access, drain connections, and electrical needs.
Stage thirteen: keep every record you will need to service or sell the well
Well projects produce paperwork, and all of it is worth keeping. That includes the well permit and the well construction record or well log, which the contractor often files with the state. Hold on to contractor invoices and warranty information, and to pump, pressure tank, and equipment details such as model numbers and installation dates. Keep the disinfection records, the water test results, and any inspection approvals. A site sketch showing the well, water line, septic system, and other features will help whoever services the property later.
Put it all in a well records binder. Our Well Care page explains why records matter. When you eventually sell the property, a complete record from the well's first day is a strong asset.
Know who is on your team and what each person handles
A new well usually involves more people than homeowners expect. Knowing the roles helps you coordinate.
The well contractor or driller drills the well, installs the casing and seal, and often develops it and files the construction record. The pump installer, who may be the same company, installs the pump, pitless adapter, pressure tank, and controls. The electrician provides power to the pump and controls, according to local code, and the plumber connects the water line to the house plumbing and installs any treatment equipment, unless a treatment company does that. The septic designer and installer plan and build the septic system, which must fit with the well, while the builder or general contractor, if you have one, coordinates the schedule. The local health department or state well program issues permits, may inspect, and may review test results. A certified laboratory tests the water, and a water treatment professional steps in if testing shows a need. You, the owner, keep everyone talking to each other and keep the records.
On some projects, one company handles most of these jobs. On others, several different people are involved. Either way, make sure each person knows where the well, water line, septic system, and electrical supply will be.
Replacing an old well: what changes compared with a first well
If you are drilling a new well to replace an old one on an existing home, the process is similar, with a few differences.
You have history, because the old well's records, depth, and performance can inform the new one. You also have constraints, because the house, septic system, and other features are already in place, which can limit where the new well can go. You need a plan for the old well too. In many areas, the old well must be properly sealed or maintained according to rules, and our article on old or unused wells explains why. If the old well has failed, you need water in the meantime, so think about temporary water for drinking, cooking, and sanitation until the new well is ready. Finally, you may be able to reuse some equipment: depending on its age and condition, a pressure tank or treatment system may be reused, so ask your contractor.
Ask about these budget items so quotes are easier to compare
Rather than a single number, think of a new well budget as several categories. Ask each contractor which of these are included in their estimate and which are separate.
The categories are permits and fees; site preparation and access; drilling, often priced by depth; casing and sealing materials; well development; and yield testing. They continue with the pump, wiring, and pitless adapter; the pressure tank, switch, gauge, and controls; trenching and the water line to the house; electrical work; and plumbing connections. Disinfection, water testing, treatment equipment if needed, site cleanup and restoration, and sealing an old well, if applicable, complete the list.
Listing categories this way makes it easier to compare quotes and to see where surprises might come from. Our article on comparing well drilling quotes goes deeper.
Plan your schedule: how long a new well project usually takes
Timing varies widely. Research and planning can take days to weeks. Permits may take anywhere from a short time to several weeks, depending on your area. Contractor schedules can be booked out. Drilling itself often takes a day to several days. Pump installation, trenching, and connection may happen soon after drilling or much later, depending on construction progress. Testing results usually take days to a couple of weeks.
For many projects, the total time from first call to first glass of water is measured in weeks to months, with most of the waiting happening before drilling day.
Avoid seven common mistakes that cost first-time well owners
Waiting too long to plan the well. Placing the house and driveway first and leaving the well for last can limit your options.
Ignoring the septic system. The well and septic system must fit together on the lot.
Choosing a contractor based only on price. Compare what is included, qualifications, and experience.
Not budgeting for surprises. Depth, conditions, and treatment needs can change the final cost.
Skipping disinfection and testing. A new well is not automatically safe to drink.
Losing the paperwork. The well construction record and first test are valuable for the life of the well.
Building over or next to the well. Leave access for future service.
Protect your new well through its first year of use
Once the water is flowing, the project is finished, but the relationship with your well is just beginning. In the first year, learn the system: find the shutoff valve, the pump breaker, and the pressure gauge, and note your baseline pressures. Our first 30 days guide has a full checklist that applies just as well to a brand-new well.
Watch for early changes. Some new wells produce slightly cloudy water at first that clears with use. If it does not clear, or if anything else changes, contact your contractor. Protect the wellhead from construction traffic, landscaping, and grading as the rest of the property is finished. Test again at the one-year mark and compare the result to your first test, and keep an eye on warranties, noting when they expire.
Ask these questions at every stage to stay in control of the project
At every stage, a few questions help keep the project on track. What is the next step, and who is responsible for it? What permits or inspections are needed before we move on? What could change the cost or timeline? What should I be keeping for my records? And what will I need to know to take care of this well for the long term?
Quick answers to common questions
Who files the well permit, me or the driller?
It depends on where you live. In some areas, the contractor handles it; in others, the owner does. Ask both your contractor and your local health department.
Can I drink from a brand-new well right away?
Not until it has been disinfected, flushed, and tested by a certified laboratory. New construction can introduce bacteria.
Is it cheaper to drill the well before or after the house is built?
Costs depend more on depth and conditions than timing, but drilling earlier usually gives the rig easier access and lets you plan the house around the best well site.
What happens if the first hole does not find enough water?
Options may include drilling deeper, trying another location, or adding storage. Your contract should explain how that situation is handled and priced.
Start early, plan with your team and test before you drink
Getting your first well is a project with many parts: research, site planning, choosing a contractor, permits, site preparation, drilling, development, pump and system installation, connection to the house, disinfection, testing, possible treatment, and documentation. Each stage builds on the last, and local rules and conditions shape the details.
Start early, plan the well together with the septic system and the house, choose a licensed contractor carefully, and do not skip disinfection and testing. Keep every piece of paper. With good planning and good partners, your first well can provide water for your home for many years, and your first glass of water will come with the confidence of knowing exactly how it got there.