
Buying or Selling · Buying a Home With a Well
Your First 30 Days in a Home With a Well: A Simple Plan
A week-by-week checklist for new owners of a home with a private well, from finding the shutoffs on day one to setting up testing, records, and routine care by the end of the first month.
The first month in a new home is a blur of boxes, utility accounts, and figuring out which switch turns on which light. If the house is on a private well, there is one more system to get to know, and it is worth giving it some attention early. The first few weeks are when you have the most motivation, the freshest memory of what the seller told you, and the best chance to set up good habits before life gets busy.
This article is a practical, week-by-week plan for your first 30 days. You do not need to follow it exactly, and you do not need to do everything at once. Think of it as a checklist that turns "we have a well now" into "we know our well."
Before moving day, collect the well paperwork while the seller is still reachable
If you have access to the house before you move in, or if you are still wrapping up the purchase, a few things are easier to do now than later.
Gather every document. Collect everything you received during the purchase: water test results, well inspection reports, flow test results, the well construction record, seller disclosures, receipts, manuals, and warranty cards. Put them in one folder. This becomes your well records binder, and it is the first thing a repair person or future buyer will ask to see.
Ask the seller for anything missing. Once the sale closes, it gets harder to reach the seller. If they mentioned a service company, a treatment rental agreement, or a manual in a drawer somewhere, ask now.
Note any service contracts. If treatment equipment is rented or on a service plan, find out whether it transfers to you, and contact the company to put it in your name. That way a bill or a service gap does not catch you off guard.
Get the names of service providers. Ask who the seller used for pump service, water treatment, and septic pumping. You do not have to use them, but it is a helpful starting point.
Week one: find every part of your water system before a problem does
The first week is about orientation. You want to be able to find and understand the key parts of your water system before anything goes wrong, because the middle of a leak is a bad time to start looking for the shutoff.
Find the well and check its condition
Walk out and look at the wellhead. Know exactly where it is. Take a photo of it from a distance, showing its relationship to the house and driveway, and a close-up of the cap. Note anything about its condition: Is the cap secure? Is the casing above ground? Does the ground slope away? Those details show whether surface water and debris have an easy way in. Our Well Care page explains what to look for.
If the well is in a pit, a well house, or somewhere hard to reach, figure out how to access it safely, but do not open the cap or climb into a pit. Pits can be hazardous, and the cap is part of what protects your water.
Find the pressure tank and record your baseline pressures
Find where the water line enters the house and locate the pressure tank, pressure switch, and pressure gauge. Our article on how your well system works explains what each part does.
Watch the gauge while someone runs a faucet. Notice the pressure dropping, the pump kicking on, and the pressure rising again until the pump shuts off. Note the approximate numbers where the pump turns on and off. This is your baseline, and it is what lets you tell later whether a change is normal or a warning.
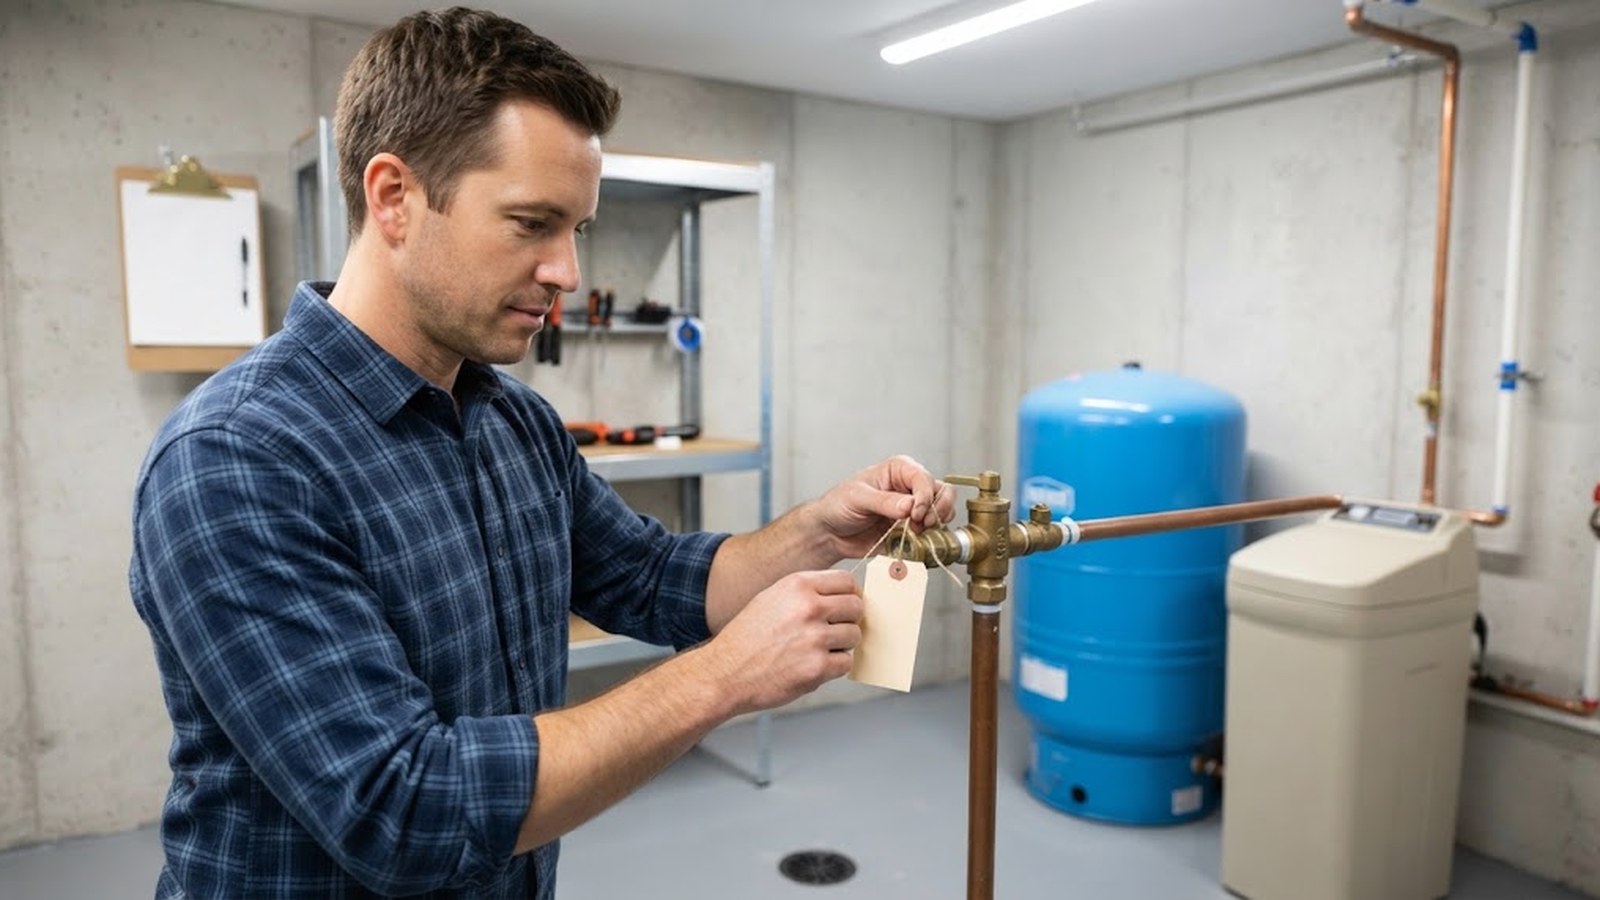
Find and label the main water shutoff
Every home should have a valve that shuts off water to the house. On a well system, there is usually a valve near the pressure tank. Find it, make sure you can turn it, and label it. If there is a leak or burst pipe, this is the valve you will want in a hurry.
Some systems have additional valves: one before the pressure tank, one after, one before treatment equipment, and bypass valves around treatment. Label what you can identify. If you are unsure what a valve does, leave it alone and ask a well or plumbing professional to explain it on their first visit.
Find the pump's breaker so you can shut it off safely
The pump runs on electricity. Find the breaker in your electrical panel that controls it. It is often labeled "well" or "pump," but not always. If it is not labeled and you are not sure, ask an electrician or well professional to identify it rather than experimenting.
Knowing where this breaker is matters when you need to service the system, when a professional asks you to turn off the pump, or during some emergencies.
Identify each piece of treatment equipment and what it does
Identify every piece of water treatment in the house: sediment filters, carbon filters, softeners, iron filters, UV systems, reverse osmosis under the sink, and anything else. For each one, try to learn:
- What it is
- What it treats (from the seller, records, or labels)
- Where the manual or model number is
- What routine maintenance it needs
If you cannot figure out what something is, take photos of it and any labels, and ask a water treatment professional.
Locate the septic system and its distance from the well
If the house has septic, find the tank and the drainfield, at least roughly. Look for lids, risers, or markers. The seller or county records may have a diagram. Knowing where the septic system is relative to the well is useful for how you use the yard.
Make an emergency card to tape up near the tank
Write down, on one sheet of paper, the location of the main water shutoff and the location of the pump breaker. Add the phone numbers you would want in a hurry: a well or pump service company, a plumber, a septic service, and your local health department. In an emergency you will not want to hunt through a phone or a drawer for any of these.
Tape it somewhere obvious, like inside the utility room door or on the side of a cabinet near the pressure tank.
Week two: test and observe your water so you know where you stand
Once you know where everything is, turn your attention to the water itself.
Decide whether you need to test the water now
If the water was tested by a certified laboratory as part of your purchase, and the test was recent and reasonably thorough, you may not need to test again right away. But consider testing now if no test was done during the purchase, or if the last one was more than a year old. A test that only covered bacteria leaves gaps if you want a broader baseline, and a test taken after treatment tells you little about the raw water, or the other way around. The house sitting vacant before you moved in is another reason, as is anything that has changed since the test, like a repair or flood. Concerns about local land use or known area issues are a reason too.
Our annual well testing guide explains what to test for and when. Our testing page covers how to choose a certified laboratory, and our guide on how to collect a well water sample walks through sampling step by step.
Flush the system gently if the house sat empty
If the house was empty for weeks or months before you moved in, water may have been sitting in the pipes, the pressure tank, and the water heater. Running the taps for a while can help bring fresh water through the system. It is a reasonable step, but it is not a substitute for testing if you have any doubts.
Be mindful of the septic system when flushing. Running a large amount of water all at once into septic is not ideal. Spreading it out over time, or running outdoor faucets away from the drainfield, is gentler.
Record what your water looks, smells, and tastes like
With fresh eyes, notice what your water is like. Fill a clear glass and look at the color and clarity from the tap. Check for any odor, especially from hot water, and taste it only if your test results say the water is safe to drink. Look at your sinks, tubs, and toilets for staining, and at fixtures and the kettle for scale. Notice whether soap lathers easily.
Write it down. This is your baseline observation, and if things change later, you will be able to compare. If something seems off now, our Symptom Finder and Water Problems pages can help you think through what it might mean and what to test for.
Check that your treatment matches your test results
If you have treatment equipment, compare what it is supposed to treat with what your test results show. Is it matched to the water? Our treatment guide explains what different systems can and cannot do. If you are not sure the treatment makes sense for your water, a water treatment professional can help, but it is worth having your own test results in hand before that conversation.
Week three: set up a maintenance routine you will keep up
By the third week, you should know your system and your water. Now set up the routines that keep it working.
Build a maintenance calendar with reminders
Make a simple calendar, on paper or in your phone. Start with annual water testing, and pick a date you will remember, like the anniversary of moving in. Add treatment maintenance such as filter cartridge changes, softener salt checks, UV lamp replacement, and any service visits, according to each manual. A quick wellhead walk-around each season, especially after storms or heavy snow, catches damage while it is small. Septic pumping goes on the calendar based on the septic professional's recommendation.
Two more entries are easy to forget. A glance at the pressure gauge a few times a year shows whether the pump's on and off pressures are consistent with your baseline. And seasonal tasks, like freeze protection before winter if you live in a cold climate or irrigation planning before summer, are far easier when a reminder prompts you ahead of time.
Stock a few supplies so small problems stay small
Depending on your equipment, you may want a small stash of replacement filter cartridges and softener salt, plus a filter housing wrench if your filters use one. A flashlight kept near the pressure tank helps when the power is out, and so does stored drinking water. Having these on hand means a clogged filter or an outage is an inconvenience instead of a scramble.
Our power outage article explains how much water to keep on hand and how to plan.
Walk the yard and protect the well from hazards and accidents
Walk the yard with the well in mind. Is anything stored near the well that should not be? Is there a place where runoff flows toward it? Are there garden beds or piles of mulch right up against the casing? Our article on everyday habits that protect your well has a full list of what to watch for.
Also mark the well so it does not get hit by a mower, snowplow, or delivery truck. A reflective stake or a small decorative barrier a short distance away can help, as long as it does not interfere with access to the well.
Week four: organize your records and line up people to call
In the last week of your first month, lock in the habits that will make life easier for years.
Organize your well records binder so nothing gets lost
Put everything in one place, in a physical binder, a digital folder, or both. A useful structure starts with the well construction record and any well inspection reports, followed by your water test results in date order and any flow test or yield information. Next come the pump and pressure tank records, including installation dates, service invoices, and warranties. Treatment equipment gets its own section with manuals, service records, and a note on what each one treats, and septic records such as diagrams, pumping records, and inspection reports go alongside. Finish with your own log of observations, pressure readings, and unusual events, plus a contacts page for labs, service companies, and the health department.
Our Well Care page and our Buying or Selling page both emphasize the value of records. They help you spot trends, help professionals diagnose problems, and help future buyers trust your home.
Choose your service providers before you need them
Before an emergency, decide who you will call. Ask neighbors for recommendations. Look for well or pump service companies that are licensed or certified where your state requires it. Our Buying or Selling page explains how to verify qualifications. For testing, identify a certified laboratory in your state.
Consider having a well professional do a routine check of your system in your first year, especially if the equipment is old or you have questions about how things are set up. It is a good way to establish a relationship and get answers to questions that came up during your first weeks.
Photograph the whole system for quick reference
Walk through your water system with your phone and take a series of photos: the wellhead, the water line entering the house, the pressure tank and gauge, the pressure switch (with its cover on), each valve with its label, each piece of treatment equipment and its model plate, the water heater label, and the pump breaker in the panel. Save them in an album or folder named for your well.
These photos are surprisingly useful. When you call a service company, you can text them a picture instead of trying to describe what you see. When something changes, you can compare to how it looked when you moved in. And when you eventually sell, the photos become part of your records.
Write down what you learned in month one
Take a few minutes to write down everything you learned in your first month: what each valve does, what the seller told you, your pump's on and off pressures, what the water was like when you moved in. Future you, and anyone else who lives in the house, will appreciate it.
Meet your neighbors and learn how local wells behave
In rural areas, neighbors are one of the best resources a new well owner has. Most of them have lived with wells for years and know the local quirks. A friendly conversation can teach you whether water in the area tends to need treatment, and for what, and whether wells nearby have ever struggled during dry spells. You can also learn which well and pump companies and which certified labs people trust. It is worth asking whether any local events, like flooding or spills, affected wells, and whether the previous owner of your house had any water troubles they remember.
You do not need to take every piece of neighborly advice as fact, but the patterns you hear are valuable. And if a storm knocks out power across the road some winter night, it helps to know the people nearby.
Read any rental or service agreement before the first bill
If any treatment equipment came with the house on a rental, lease, or service plan, read the agreement now, not when the first bill arrives. Look for the monthly or annual cost, what service is included and how often, and who owns the equipment and what happens if you cancel. Check for cancellation fees or removal charges, and whether the agreement automatically renewed when the house changed hands.
If the arrangement does not fit your needs, you may be able to cancel, buy out the equipment, or switch to a different approach. Whatever you decide, make the decision with your own water test results in hand.
Avoid six common new-owner mistakes in your first month
A few common new-owner mistakes:
Buying treatment equipment before testing. Salespeople may visit new homeowners, and it can be tempting to buy a system because of a stain or a taste. Test first, then choose treatment based on evidence. Our site's motto is "Test first. Treat second. Evidence before products."
Changing settings you do not understand. Pressure switch adjustments, softener settings, and valve positions can all affect your system. If you are unsure, ask a professional.
Ignoring small leaks. A running toilet or dripping faucet runs your pump more and sends extra water into your septic system. Fix leaks early.
Covering or burying the wellhead. Landscaping, decks, and sheds should not cover or crowd the well. You need access to it, and it needs to stay above ground and protected.
Pouring things down drains without thinking. If you are new to septic, remember that chemicals, grease, and certain products can harm it.
Assuming the seller's test covers you forever. Water changes. Keep testing on a schedule.
Know what to do first if something goes wrong in month one
Sometimes new owners run into problems right away. Here is how to think about common ones.
No water at all. Check whether the power is on and whether the pump's breaker has tripped. If the breaker trips again or the water does not return, call a well service company. Do not keep resetting a breaker that keeps tripping.
Low or fluctuating pressure. Look at the pressure gauge. Note whether the pump is cycling very quickly. Check whether a filter might be clogged if you have one. If the problem continues, call a well professional. Our pressure tank article can help you describe what you are seeing.
Change in water appearance, smell, or taste. Stop drinking the water if you are concerned, and consider testing. Our sudden well water changes guide walks through what to do.
Water in the basement near the equipment. Shut off the main water valve and, if needed, the pump breaker, then call a plumber or well professional.
Salespeople telling you your water is dangerous. Thank them and rely on a certified laboratory test instead. A free in-home water demonstration is not a substitute for a lab test.
Print a 30-day checklist and tick off each task
Week one
- Locate and photograph the wellhead
- Locate the pressure tank, switch, and gauge
- Note the pump's on and off pressures
- Locate and label the main water shutoff
- Locate the pump breaker
- Identify all treatment equipment
- Locate the septic tank and drainfield
- Make an emergency contact card
Week two
- Decide whether to test now and arrange testing if needed
- Flush the system gently if the house was vacant
- Record your observations of the water
- Compare treatment equipment with test results
Week three
- Create a maintenance calendar
- Stock supplies and stored drinking water
- Walk the yard for hazards near the well
- Mark the wellhead to prevent accidental damage
Week four
- Organize your well records binder
- Choose service providers and a certified lab
- Consider a first-year professional check
- Write down what you learned
Quick answers about testing, checkups, and week one
Do I have to test right away if the seller tested recently?
Not always. If the seller's test was recent, broad, and from a certified lab, you may be able to wait until your one-year mark. Test sooner if the house sat vacant, anything changed, or the earlier test was limited.
Should a professional check the system in the first year?
It is a good idea, especially if equipment is old or you have questions. It also establishes a relationship with a service company before an emergency.
What is the first thing to find in week one?
The main water shutoff valve, followed closely by the pump's breaker. Those two let you stop a leak or protect the pump quickly.
Start with the shutoff and the breaker, then work through the four weeks
Your first 30 days in a home with a well are the perfect time to learn your system, check your water, set up maintenance, and organize your records. Find the well, the pressure tank, the shutoff, the breaker, and the treatment. Test your water if you have not recently, and observe it with fresh eyes. Build a simple calendar of reminders, stock a few supplies, and walk the yard with the well in mind. Then put everything in a binder and pick the professionals you will call.
None of it is complicated, and none of it takes long. Done in the first month, it turns a system you inherited into a system you understand, and it sets you up to own your well with confidence for years to come.